Inexpensive frame from Dollar Store or craft store
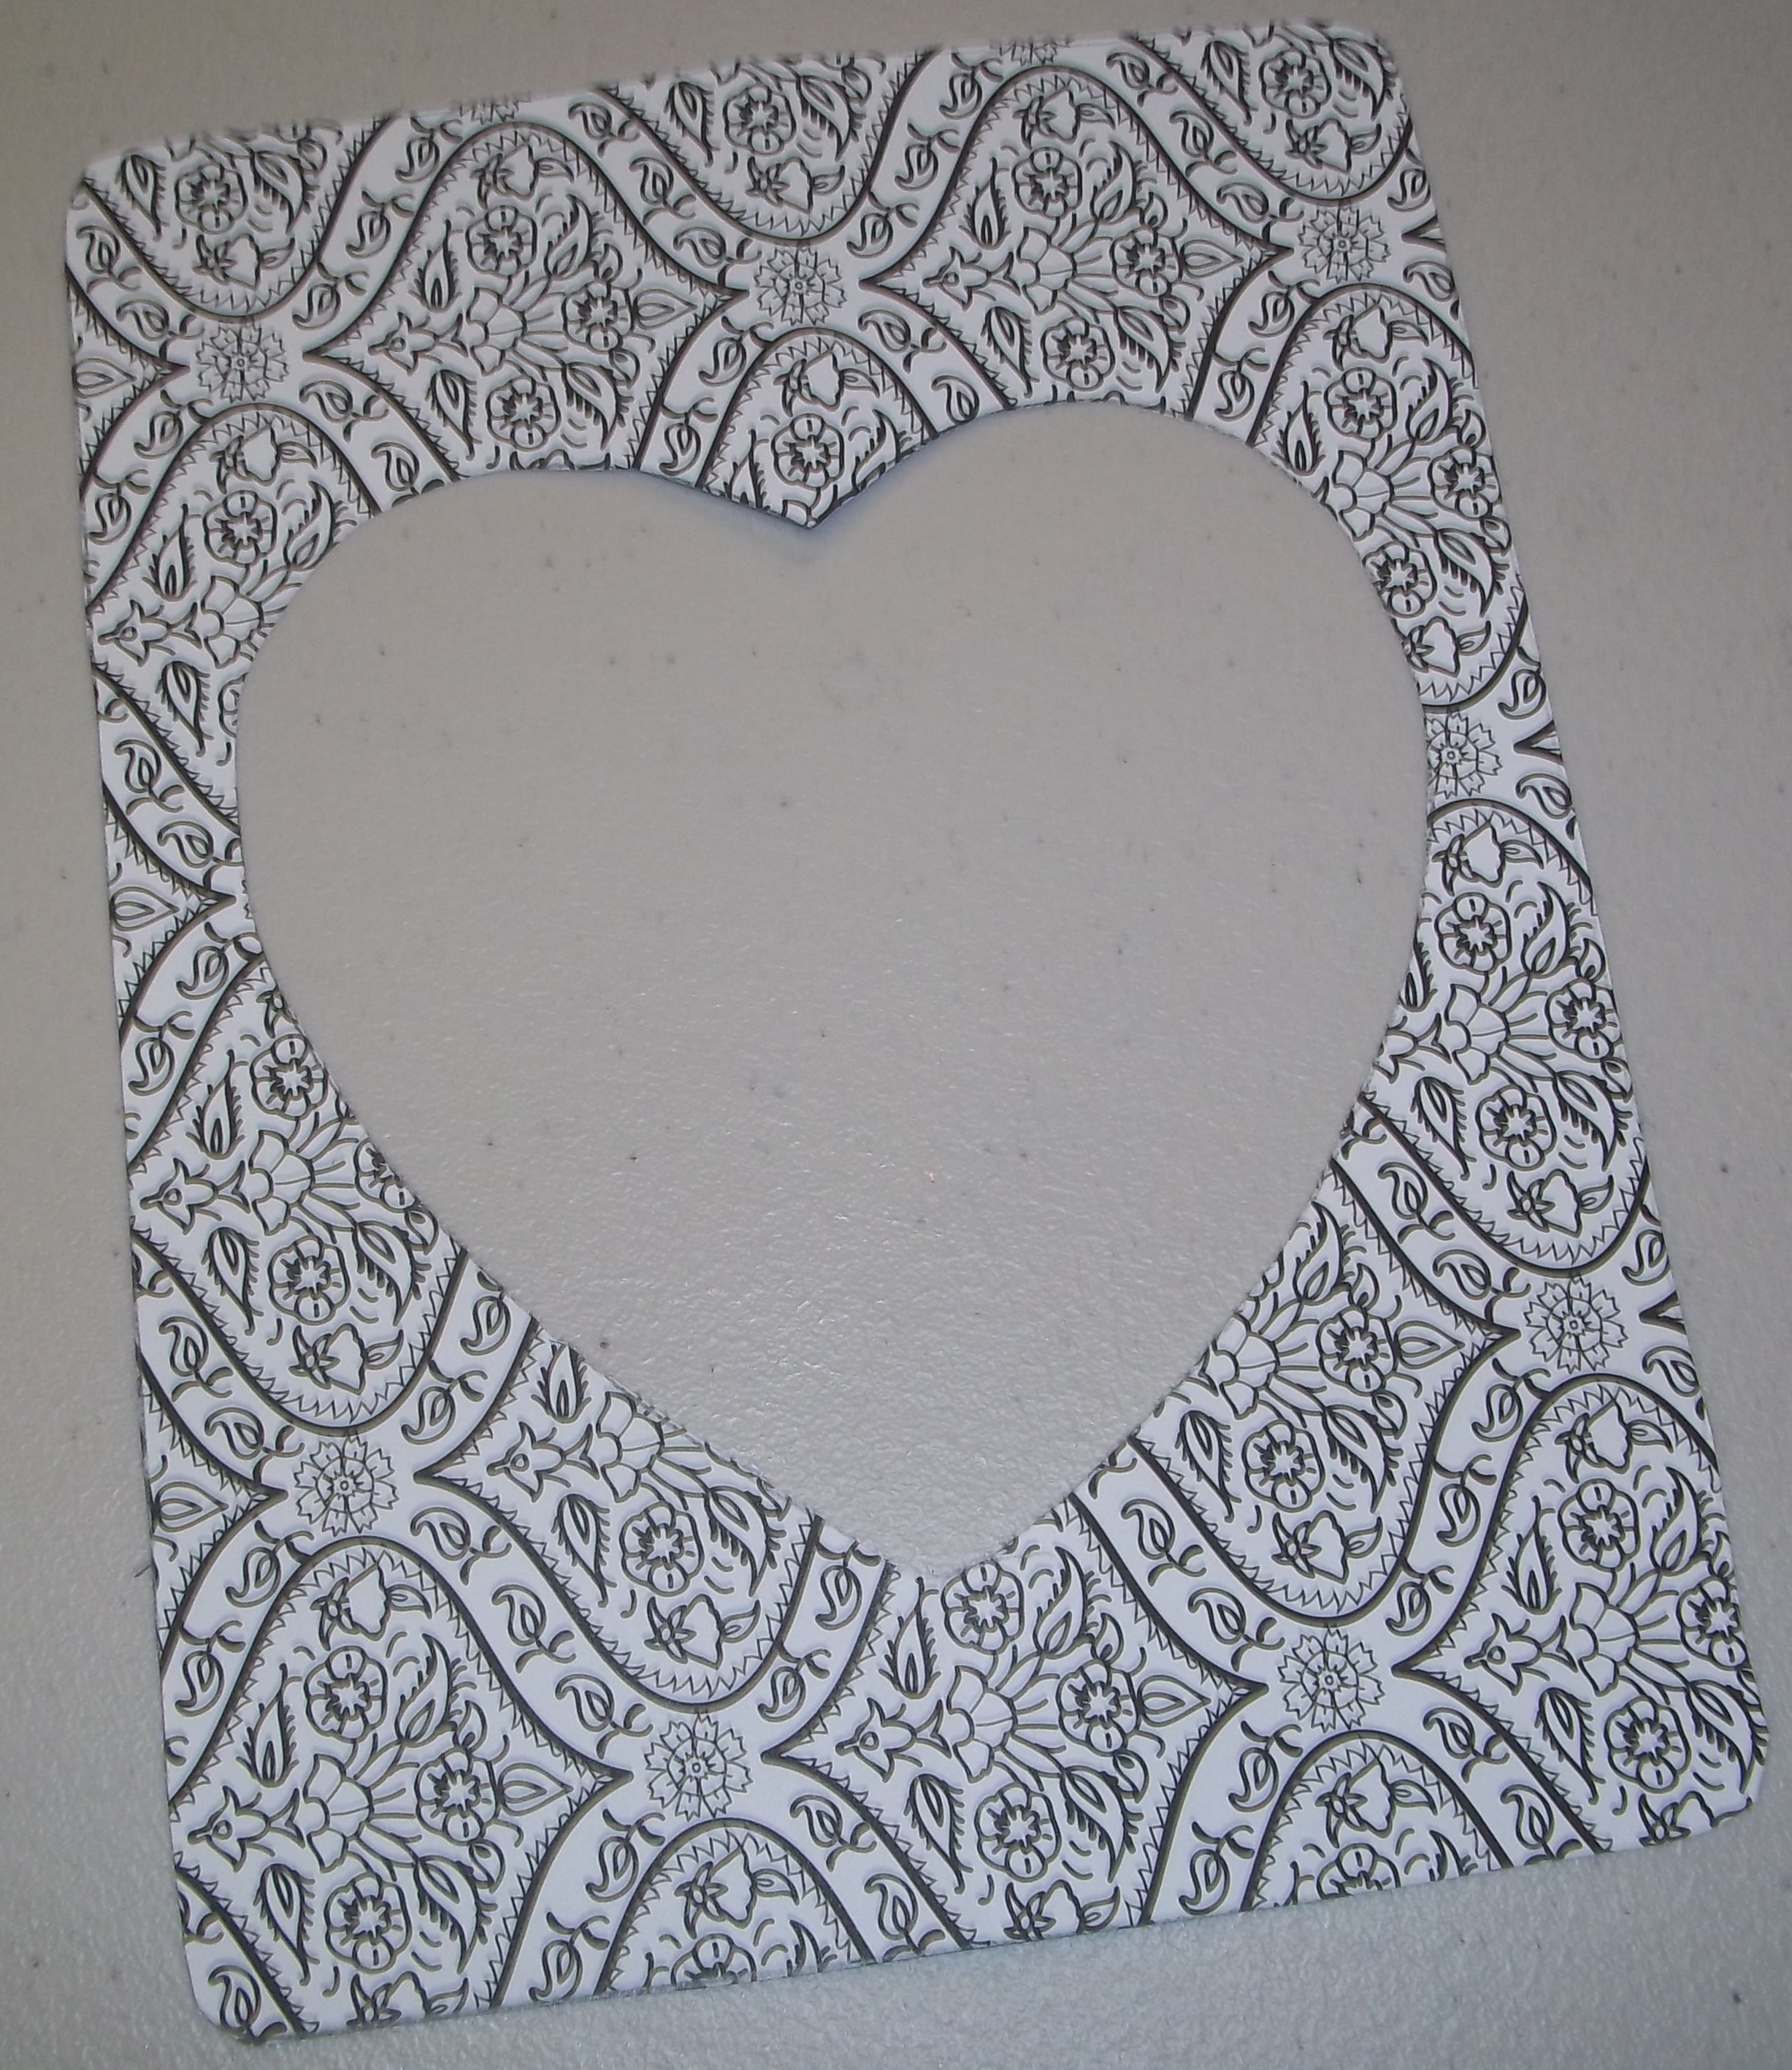
Scrapbook Paper
A photo of someone of love
Craft Glue
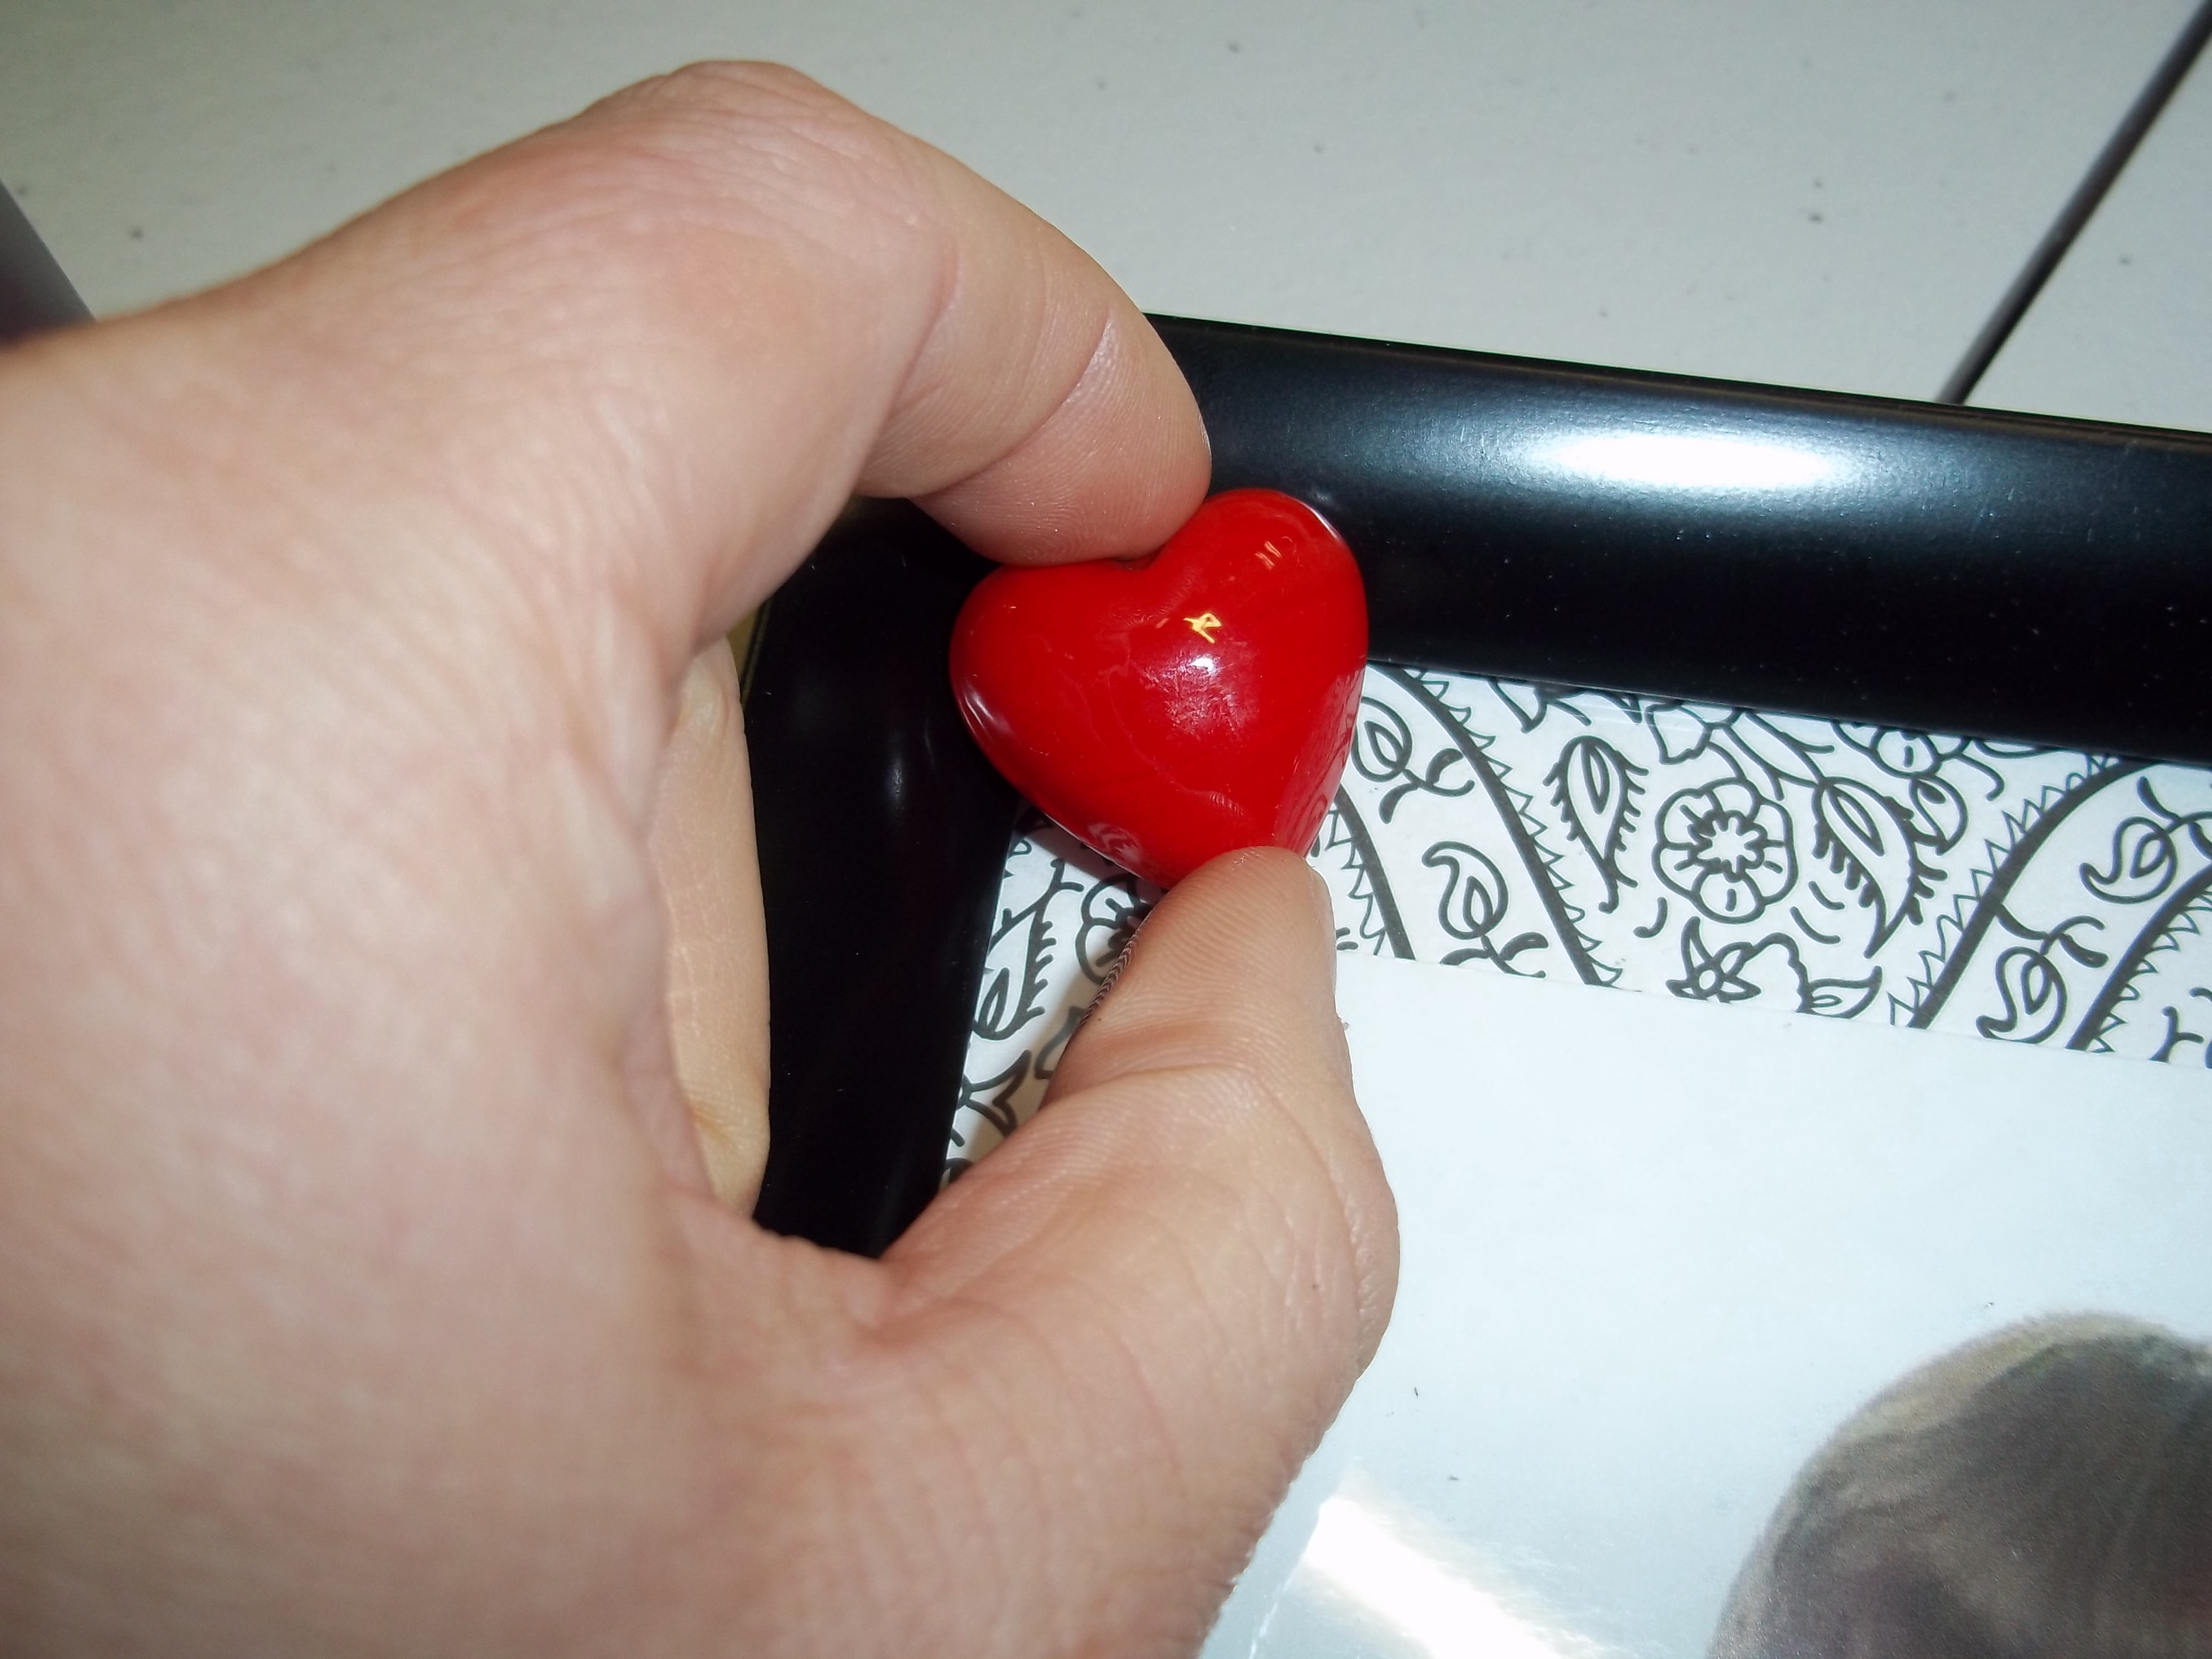
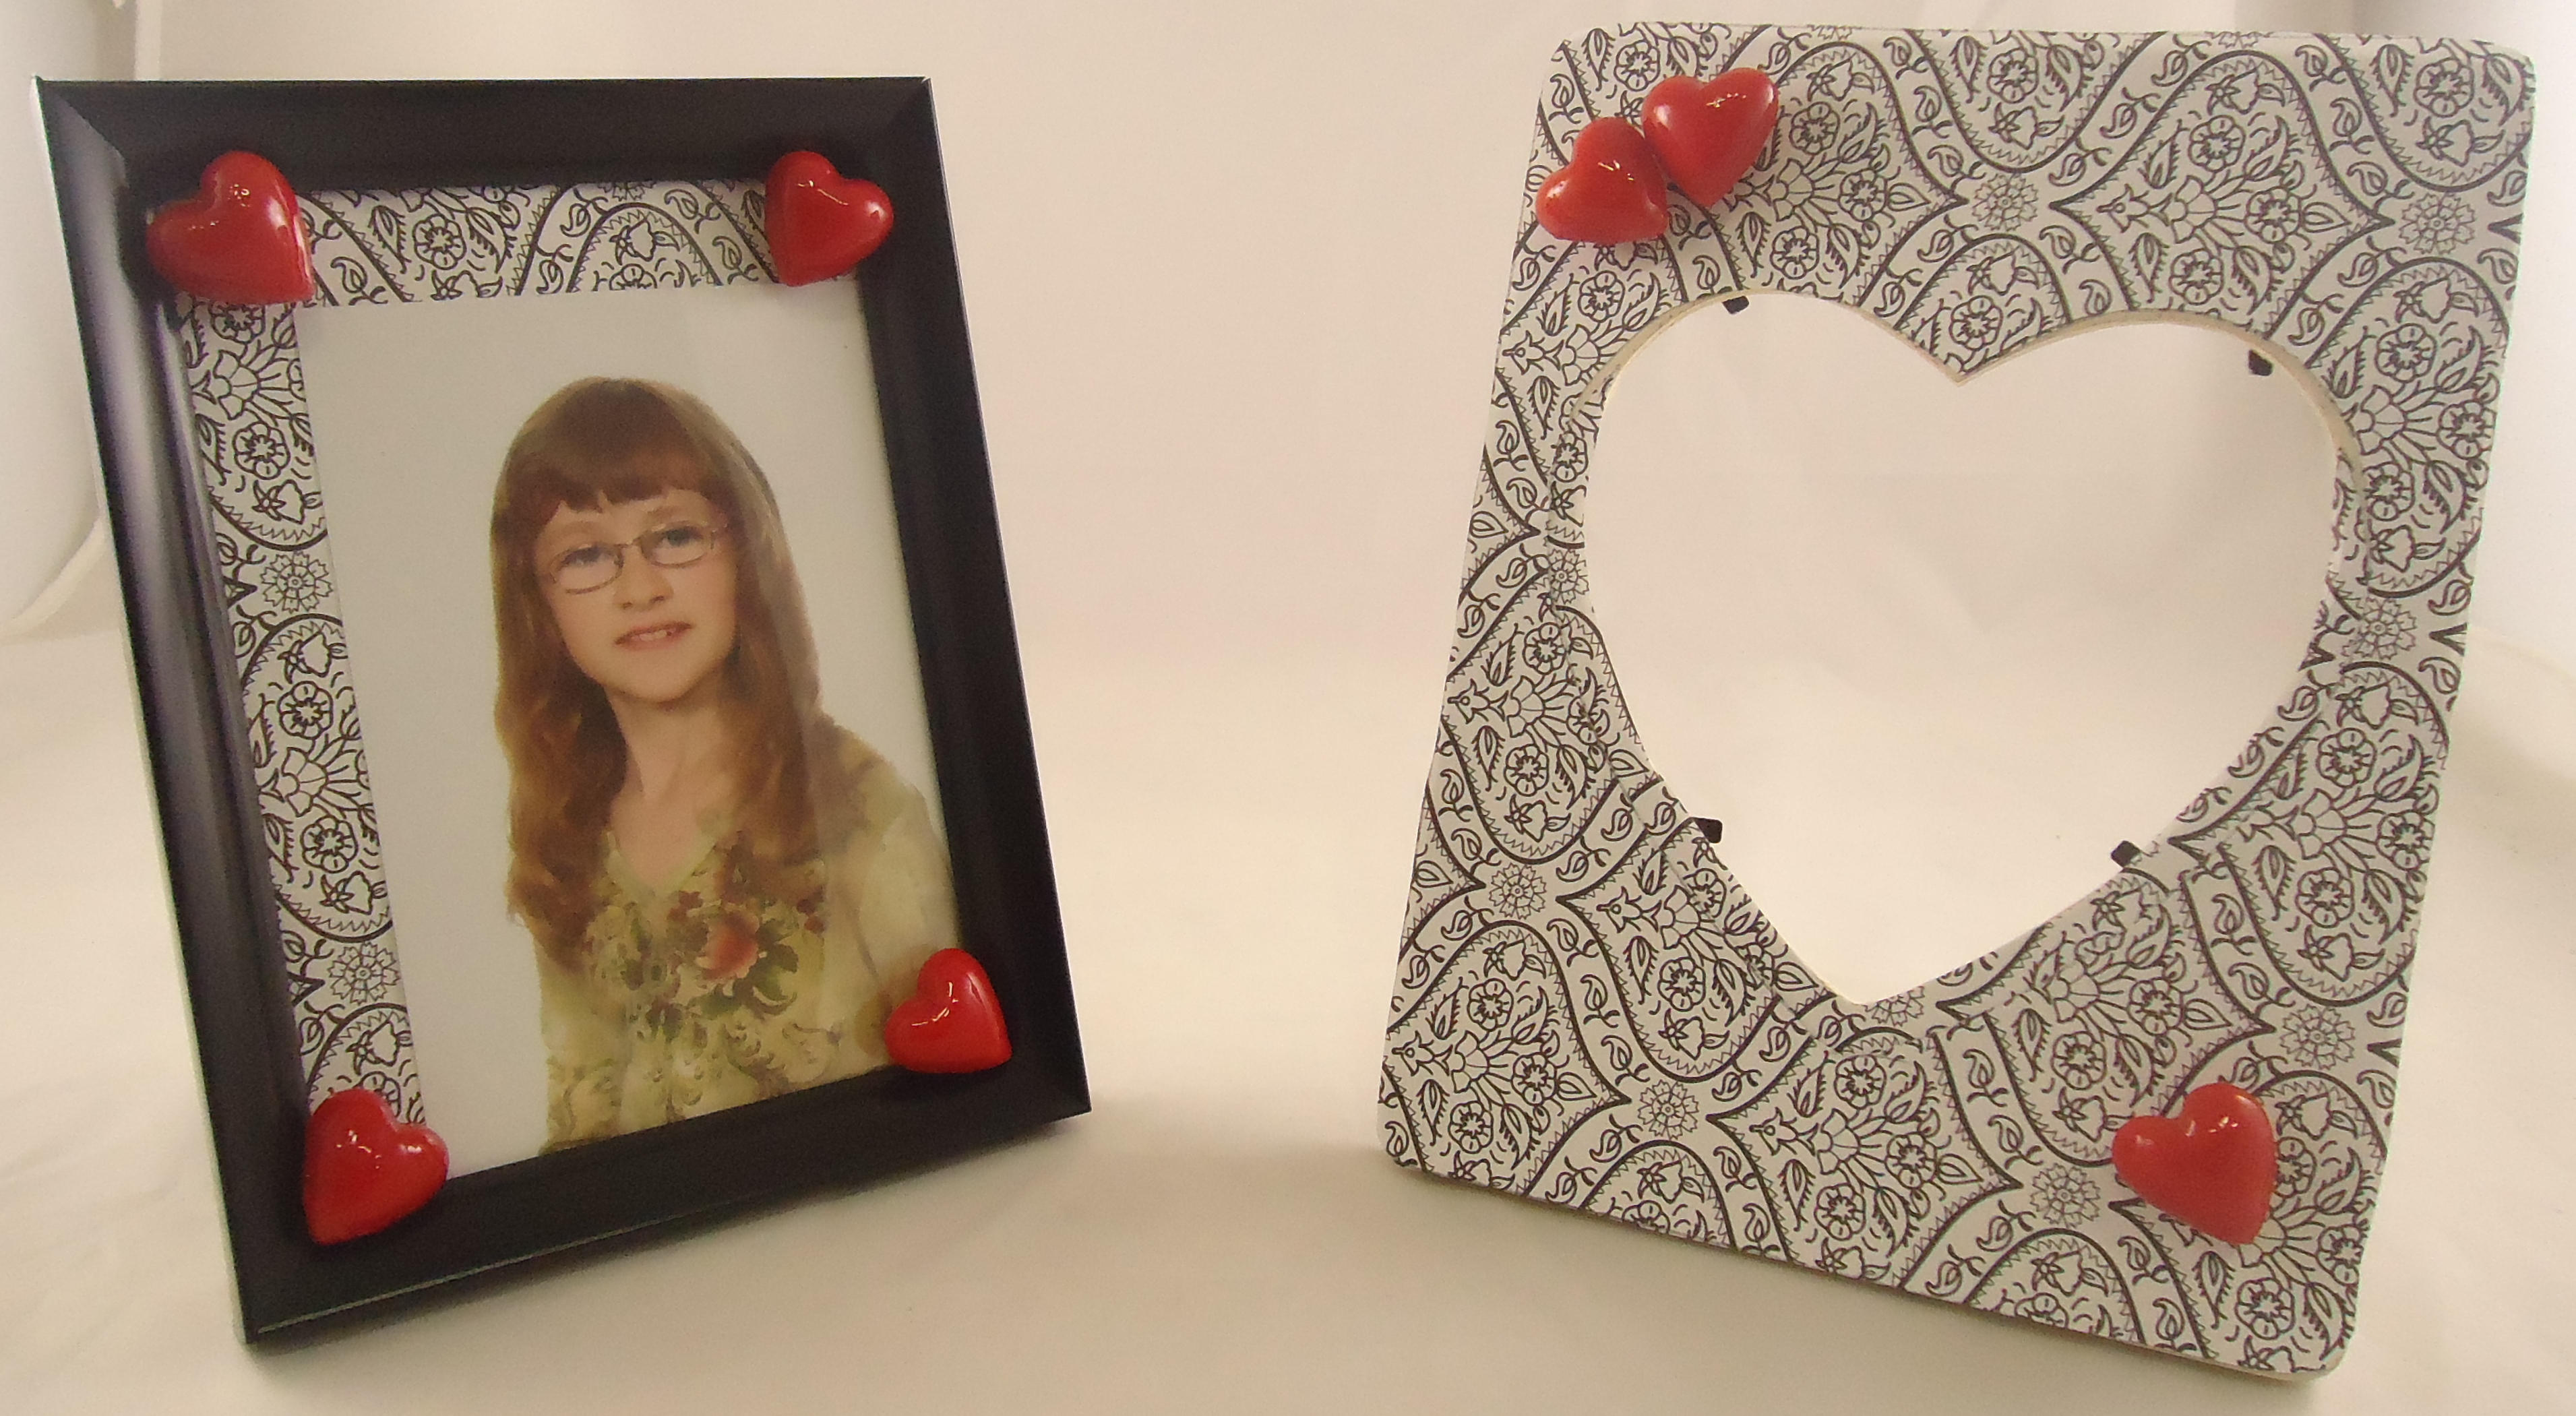
I spruced up a plain black frame by gluing hearts on each of the corners. I found a frame with a cut-out of a heart in the center which I glued a sheet of black and white scrapbook paper to. I then glued on a few hearts creating a perfect Valentine’s Day gift!
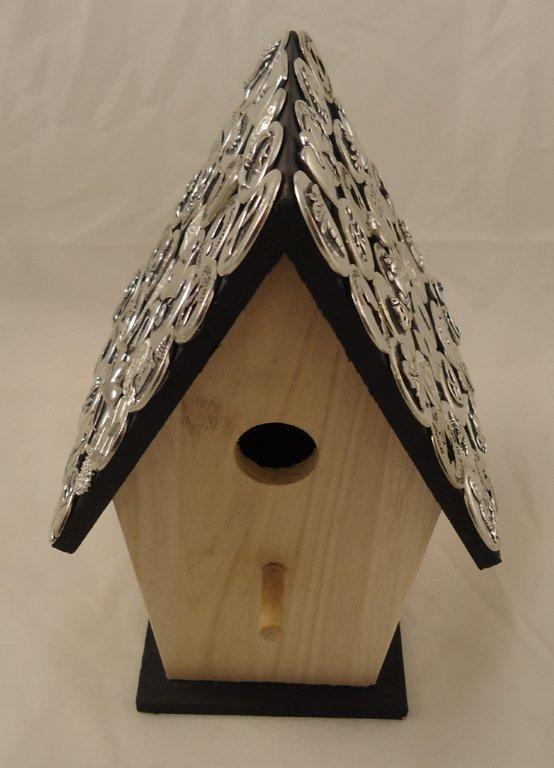
Step 1: Paint birdhouse color of your choice. I picked black to that the pink designs would really stand out!)
Step 2: Paint designs or your choice with a different color of paint. I picked pink and made them look like tree limbs, then added ‘flowers’ which are nothing but a circle of dots!
Step 3: With your hot glue gun/super glue, adhere the tokens of your choice to the roof of your bird house. I chose a variety of 64 pocket tokens.
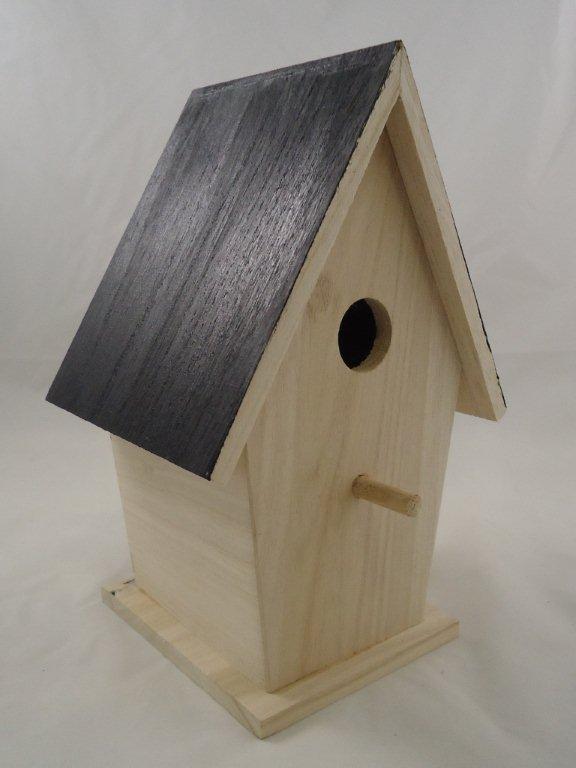
Start with an unfinished wood birdhouse.
The black paint makes a great background for pewter tokens.
I glued the coins in rows…but you can be creative!
Choose from a variety of inspiration coins to make an interesting rooftop!
You can leave the house part unfinished for a ‘simple’ look.
This is as simple as arranging the stones in any pattern or spacing that feels right to you and then adhering them with your glue of choice.
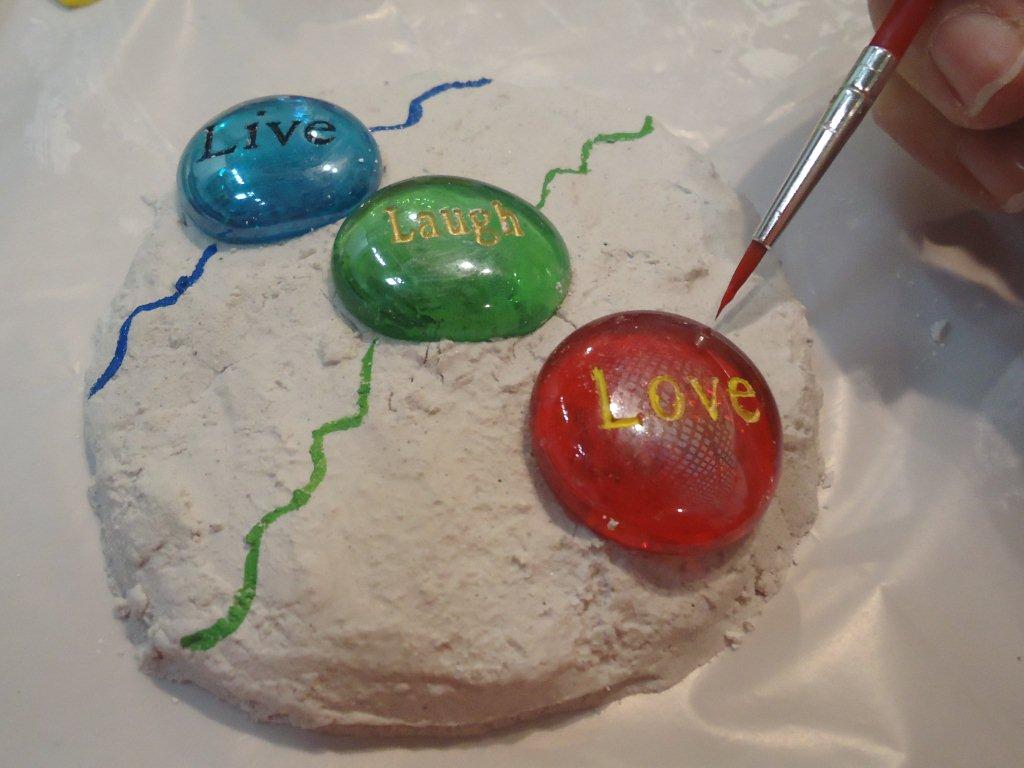
I chose a few different words for my mirror but you could use all of one word like “Love” to make a statement in a master bedroom or “Laugh” for a child’s room. Let your imagination run wild and have fun! ~Suzi
A few, simple supplies! Our mirror is from the dollar store, can you believe it?!
Add glue to each stone and press firmly!
Shazam! Adorable mirror – and it took less then 15 minutes!
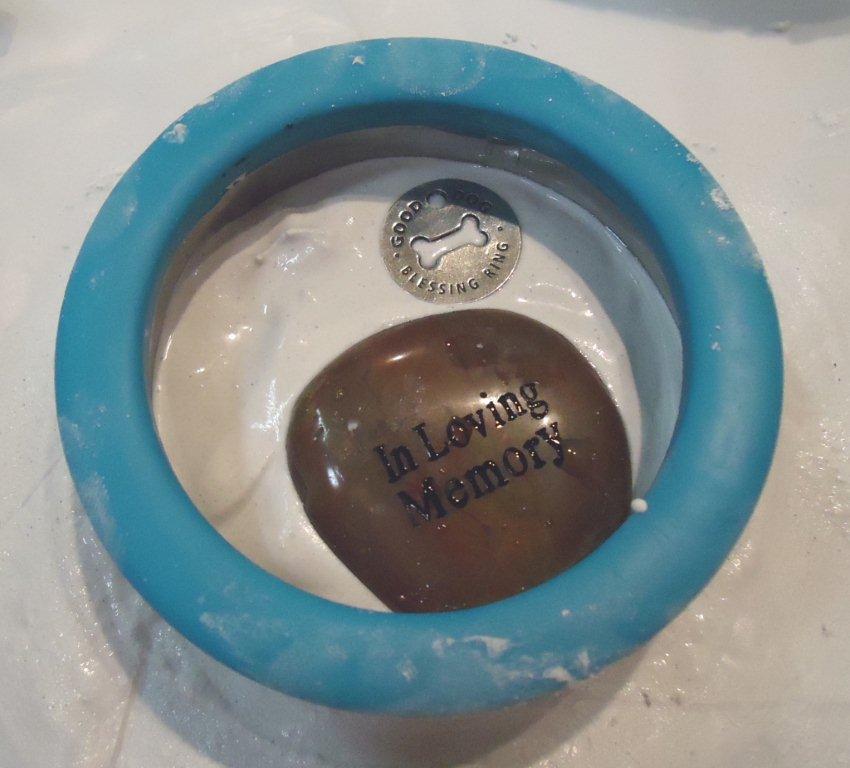
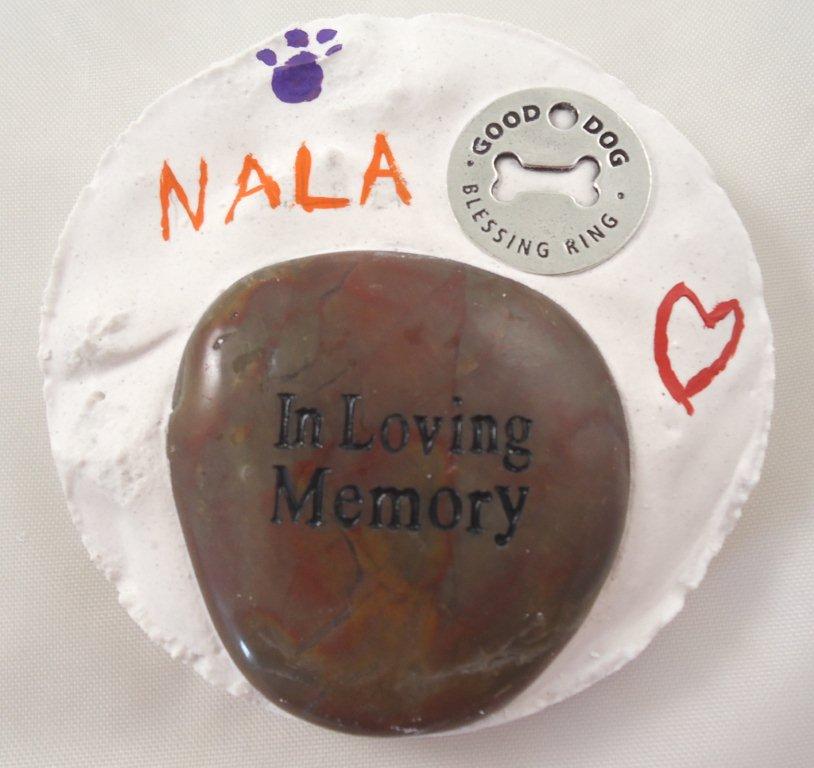
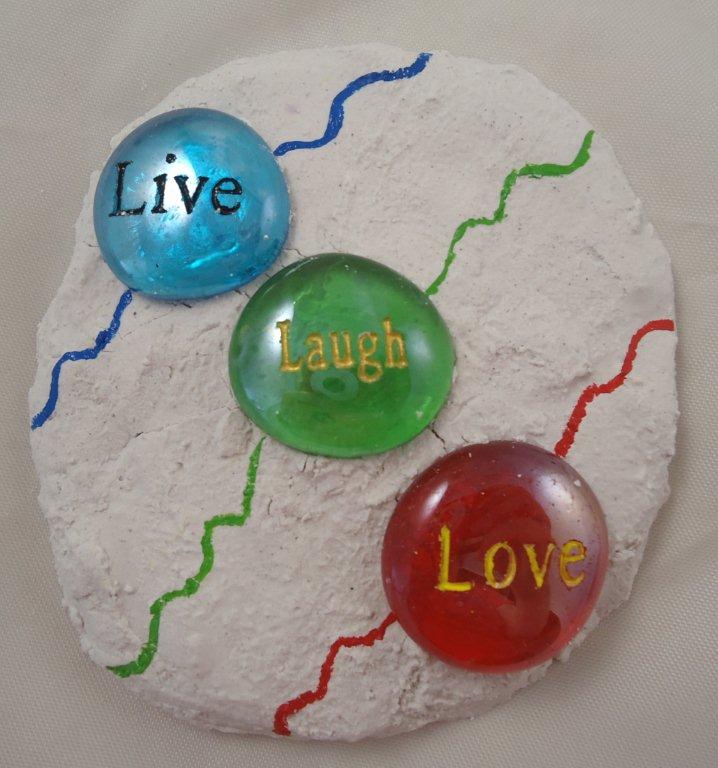
So I decided to see what I could create using our stones and tokens and some store bought plaster. My plaster was actually a large stepping stone kit that I portioned into smaller amounts so I could make multiple items.
If you have never used plaster before (which I hadn’t) let me tell you it dries fast! Before you begin mixing it make sure you know what design you are creating on the stones. I ended up making 4 small stones which can be used as paperweights or markers for your garden.
As far as the how to on this one, I basically just followed the directions for mixing the plaster and then as soon as I had my forms molded I placed the different items into the plaster before it had any chance to dry. I did pour some of the mix into large cookie cutters to help with a couple of the shapes, the others were formed by hand.
After I let all the stones dry I used paint to add a little more color to the stones.
These easy to create pieces can make great gifts, wonderful memorials, or just a nice project for a rainy day!
Have fun and use your imagination…the possibilities are endless! ~Suzi
Mix plaster.
Form into shapes…this is freehand…
This is with a mold…
Get creative and colorful with your stone choices!
Have fun with paint!
Fun, simple designs.
A memorial for the garden.
A perfect child’s Mother’s Day project.
Kanji Reflection stones…
Pewter sand dollars and Mermaid token remind us of the beach.