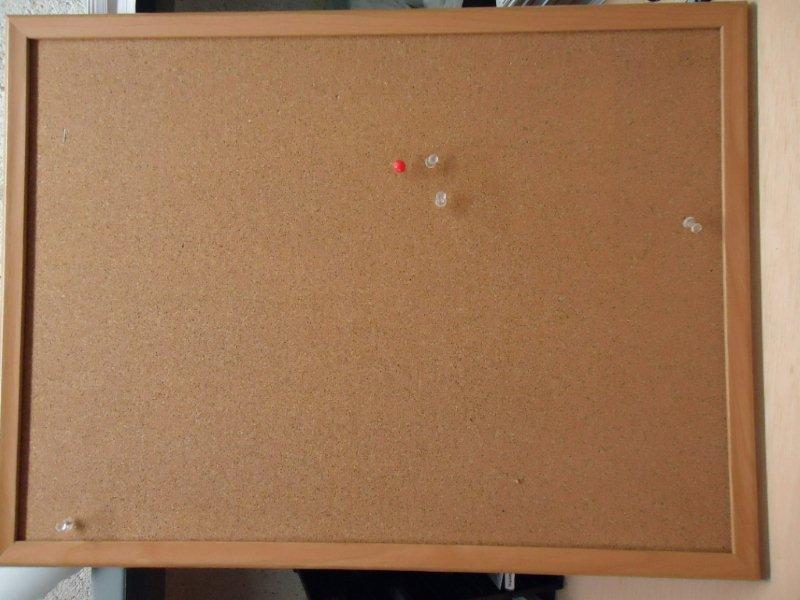
I took a plain ole’ wooden bulletin board and added a little ‘bling’ in the form of glass spirit stones. Now the board has both color AND inspiration! ~Natalie
Look at these adorable fridge magnets that Natalie made using a variety of our products. Inexpensive, cute, functional and they make an awesome gift!
You will need:
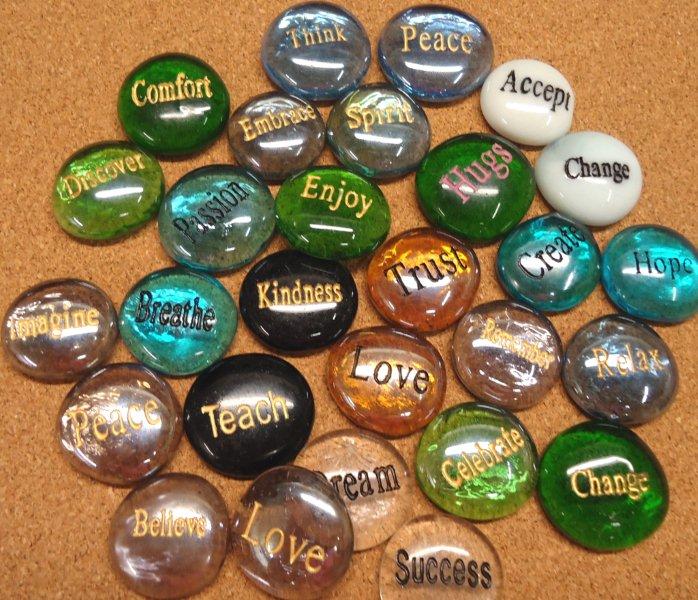
Pewter pocket tokens, Glass Spirit Stones, Kanji Reflection
Stones or Marble Word Stones from www.courageinstone.com.
Magnets – found at any local craft store
Craft Glue
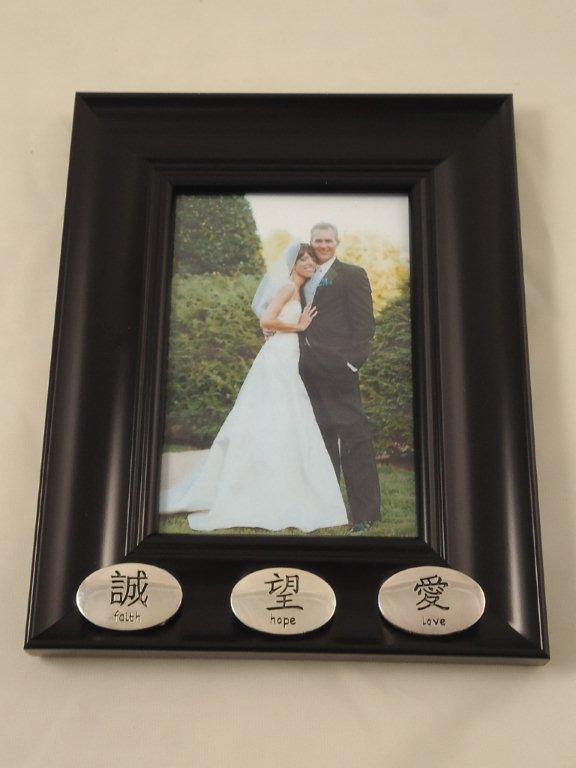
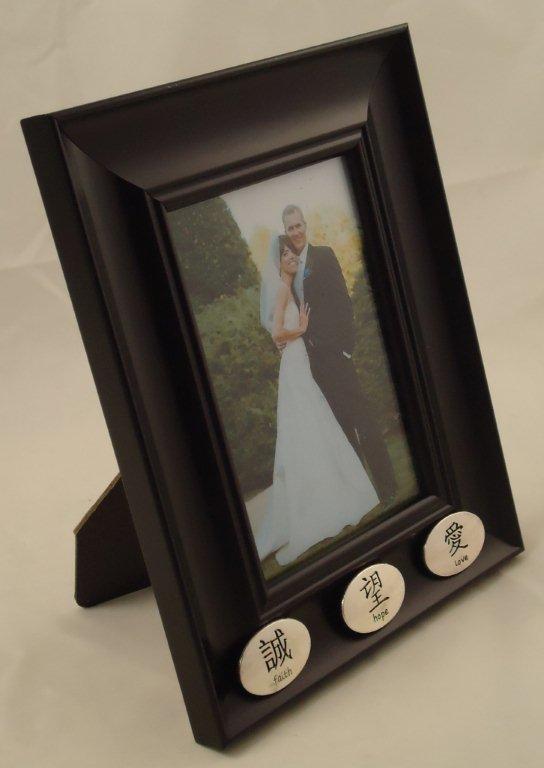
Step 1: Choose from our variety of products. I used Live, Laugh and Love Glass Spirit Stones. Then I picked Kanji Reflection stones that I find inspirational (hope, faith and focus), several of the pewter pocket tokens and a Marble Word Stone that says Love.
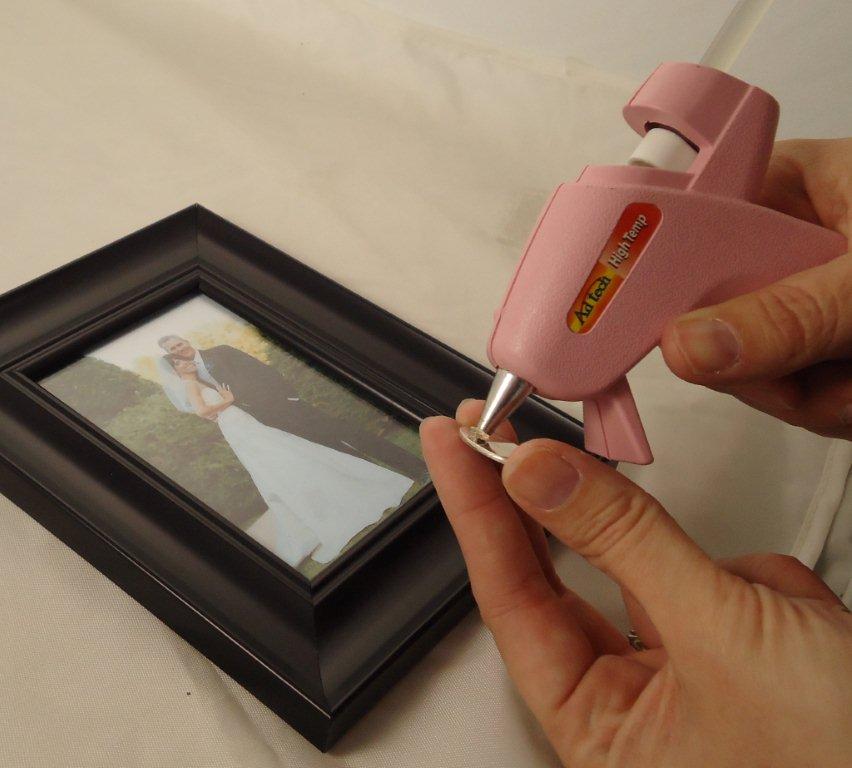
Step 2: Use a craft glue to glue magnet onto token.
Step 3: Enjoy your magnet on fridge or filing cabinet.
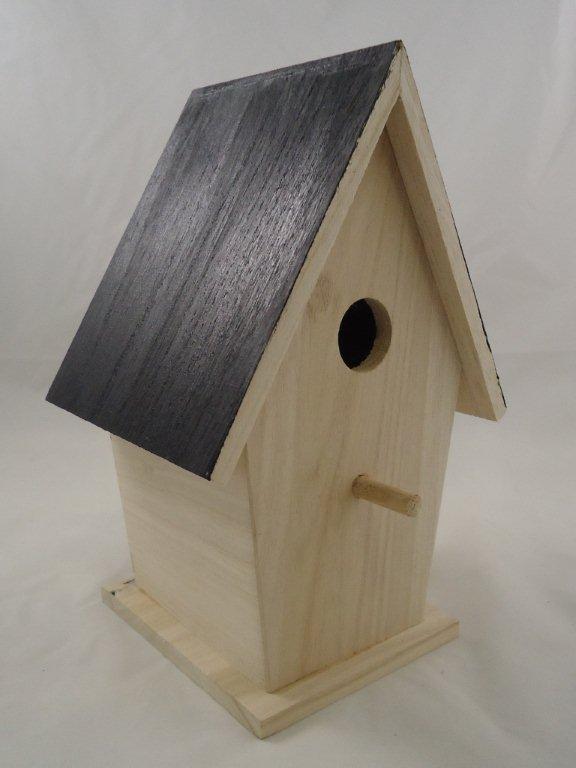
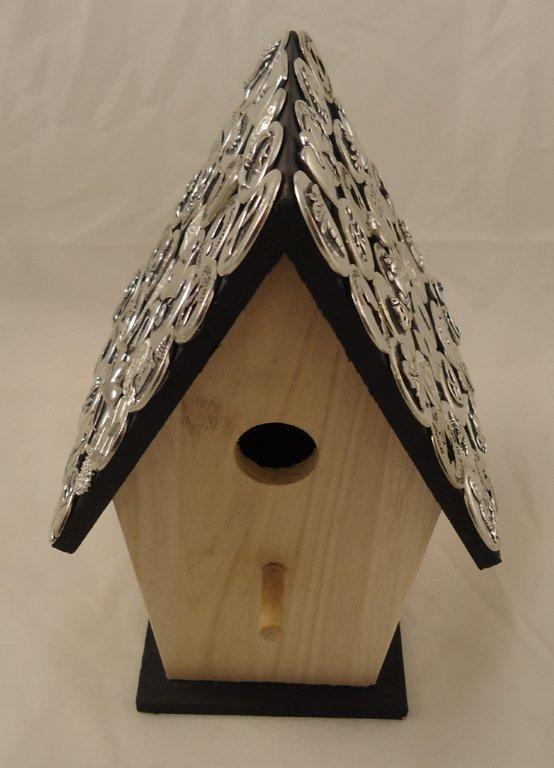
Step 1: Paint birdhouse color of your choice. I picked black to that the pink designs would really stand out!)
Step 2: Paint designs or your choice with a different color of paint. I picked pink and made them look like tree limbs, then added ‘flowers’ which are nothing but a circle of dots!
Step 3: With your hot glue gun/super glue, adhere the tokens of your choice to the roof of your bird house. I chose a variety of 64 pocket tokens.
Start with an unfinished wood birdhouse.
The black paint makes a great background for pewter tokens.
I glued the coins in rows…but you can be creative!
Choose from a variety of inspiration coins to make an interesting rooftop!
You can leave the house part unfinished for a ‘simple’ look.
This is as simple as arranging the stones in any pattern or spacing that feels right to you and then adhering them with your glue of choice.
I chose a few different words for my mirror but you could use all of one word like “Love” to make a statement in a master bedroom or “Laugh” for a child’s room. Let your imagination run wild and have fun! ~Suzi
A few, simple supplies! Our mirror is from the dollar store, can you believe it?!
Add glue to each stone and press firmly!
Shazam! Adorable mirror – and it took less then 15 minutes!
Scrapbooking is one of my great passions and many people run away from it because pages can look very complex and hard to recreate. Not true!
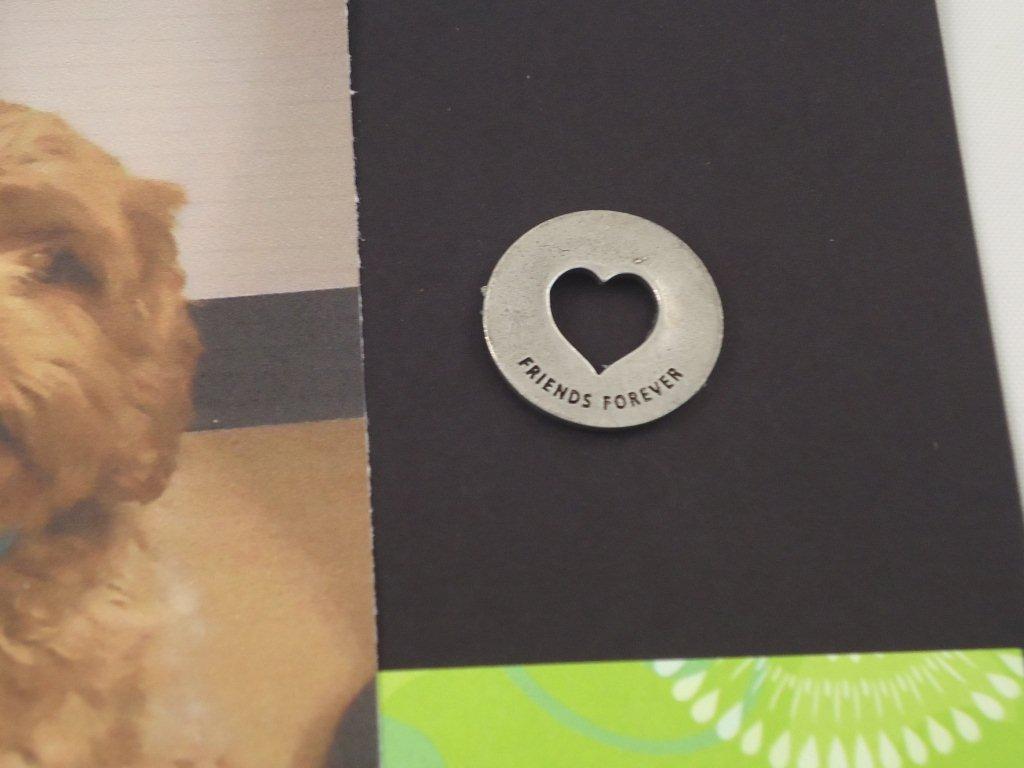
For this adorable page I wanted to really focus on the picture of the dogs but added a few tokens from www.CourageInStone.com to make the page really “talk” to you. I chose the 3 inspiration coins (Frog-Smile #6471, Bee-Happy #6475, & Flower-Joy #6534) and used only the word side of the coin to add some interesting emotions to this page. Then I used the Friendship Blessing Coin (# 3628mm ) which has “Friends Forever” on the reverse side as a final touch.
This page, as well as these dogs, will bring smiles for years to come! ~Suzi
Are there any cuter dogs then Bynum and Baxter?
Choose tokens that evoke the theme you’re going for…
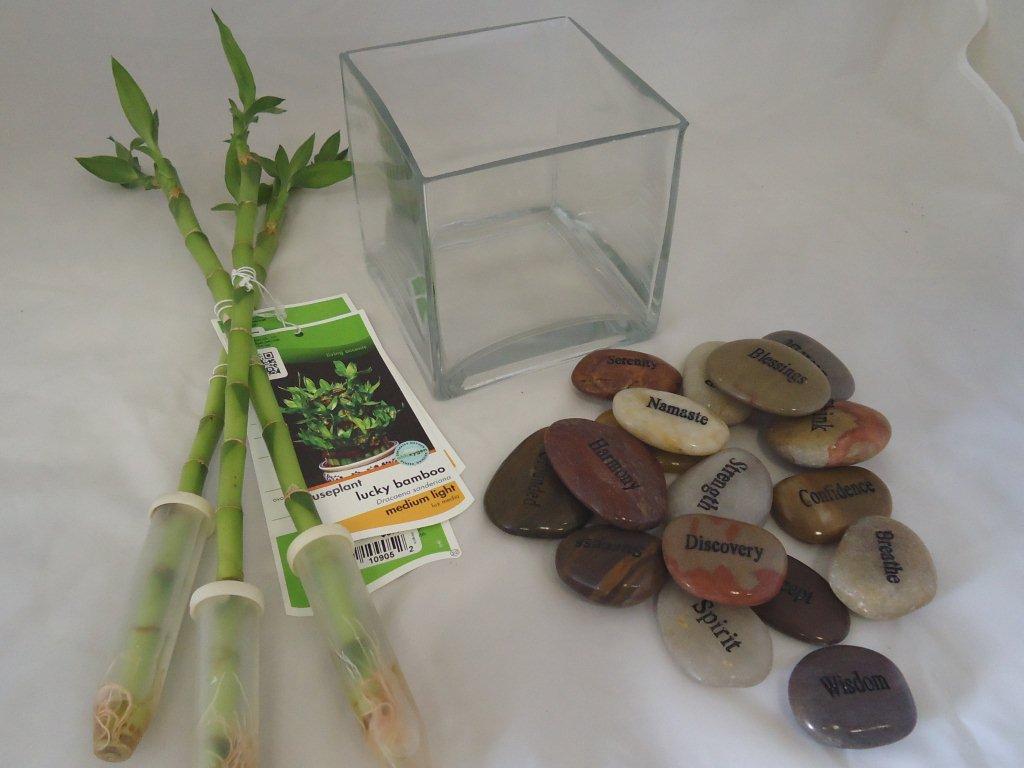
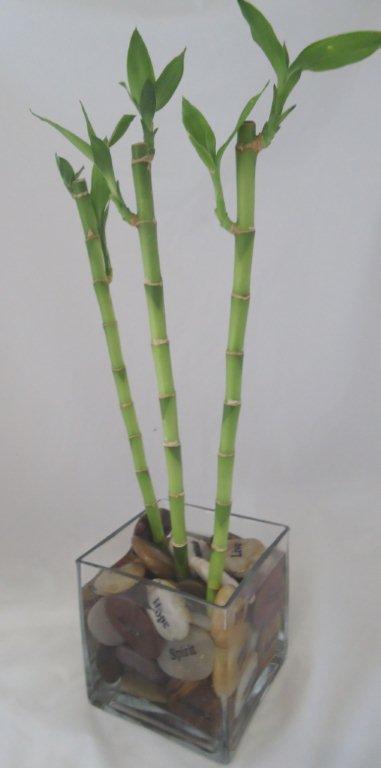
I used about 20 River Rocks to fill my planter using inspirational word such as “Wisdom”, “Strength” and “Success”. After arranging the words facing out and adding 3 Lucky Bamboo plants, I filled the planter with water. Project finished! This simple upgrade from traditional planter stones give so much more meaning to anyone admiring this elegant arrangement.
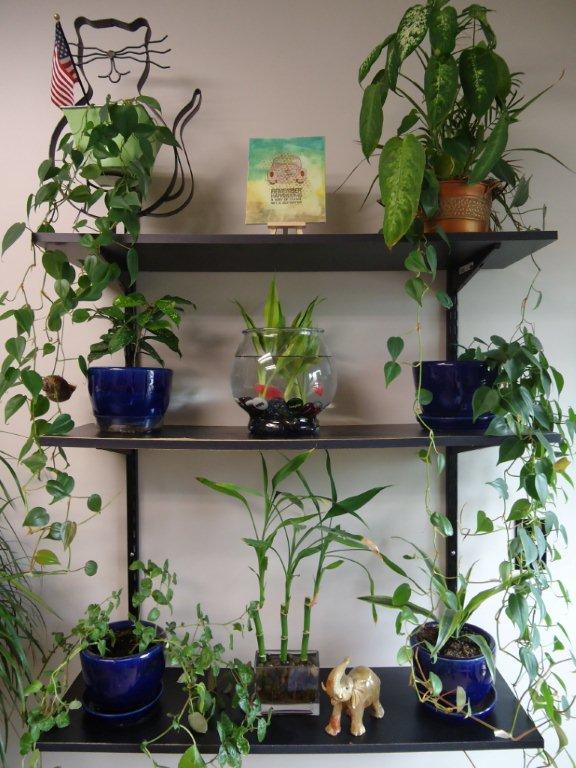
They say that plants are good for the soul. OK, maybe that isn’t what they say at all, but around here we love to have greenery and something easy to take care of.
I had an unused fish bowl at home (previous occupants have gone on to fish heaven) and decided to liven it up a bit. And here’s how!
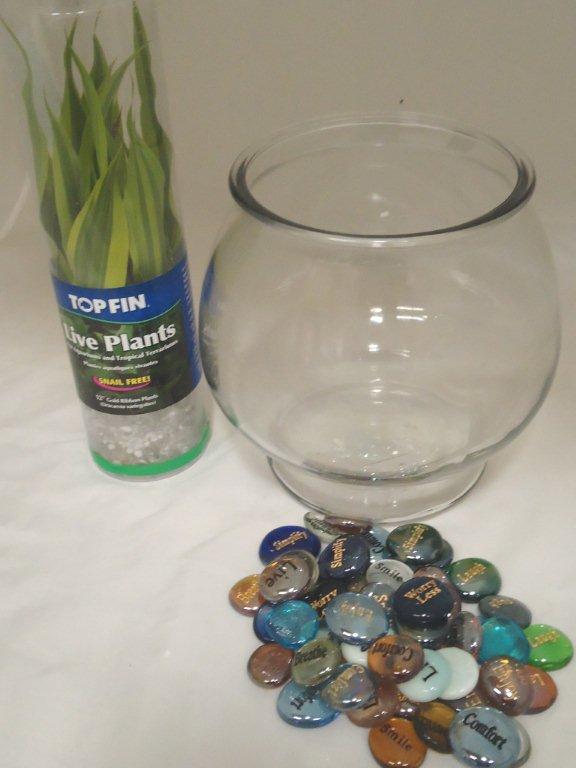
Items you will need
Fish Bowl
Aquatic Plant (purchased from local pet shop)
Glass Engraved Spirit Stones from CourageInStone.com (Item #8400)
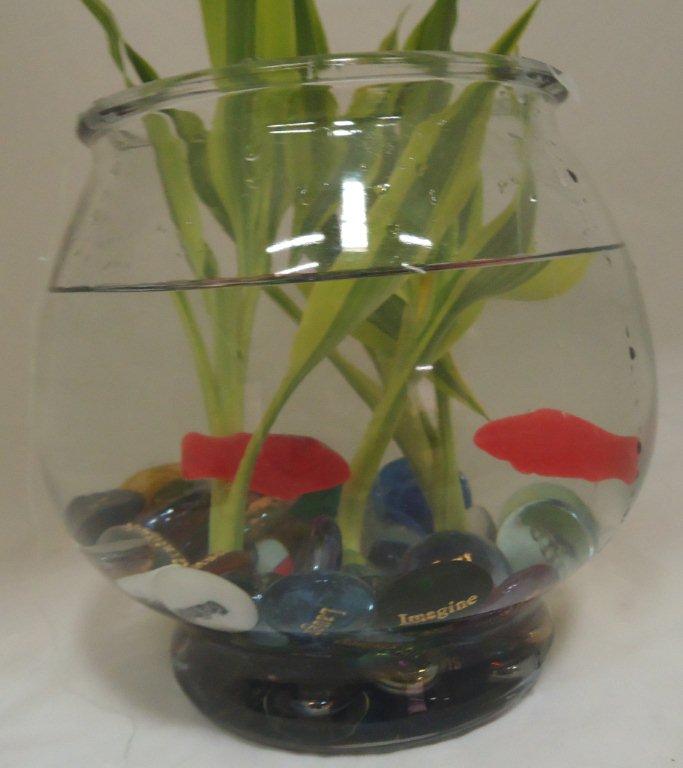
Fish (optional)**
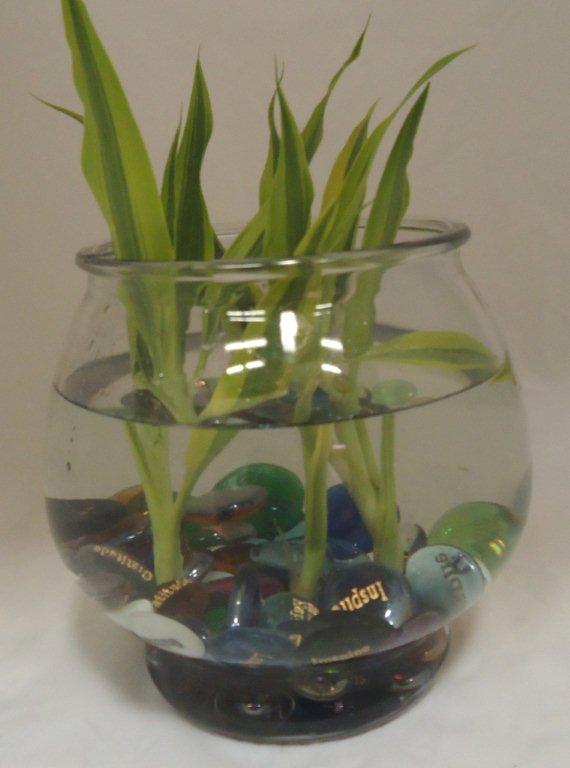
This how-to is simple. I placed 50 glass stones with different inspirational words on them in the bottom of the fish bowl, filled the bowl with water, and then placed my aquatic plants into the stones.
**As noted, fish are optional with this project! No one here at the office has jumped at the chance to clean the fish bowl if a fish inhabits it, so for now we are enjoying the red glow of our Swedish Fish (with the help of a sewing needle, thread and clear tape…)! ~Suzi
Super simple supplies!
We added about 50 stones…add or subtract as you see fit.
Arrange stones as necessary.
Add plants…
Voila!
Water plants make a lovely addition to the garden!
So I decided to see what I could create using our stones and tokens and some store bought plaster. My plaster was actually a large stepping stone kit that I portioned into smaller amounts so I could make multiple items.
If you have never used plaster before (which I hadn’t) let me tell you it dries fast! Before you begin mixing it make sure you know what design you are creating on the stones. I ended up making 4 small stones which can be used as paperweights or markers for your garden.
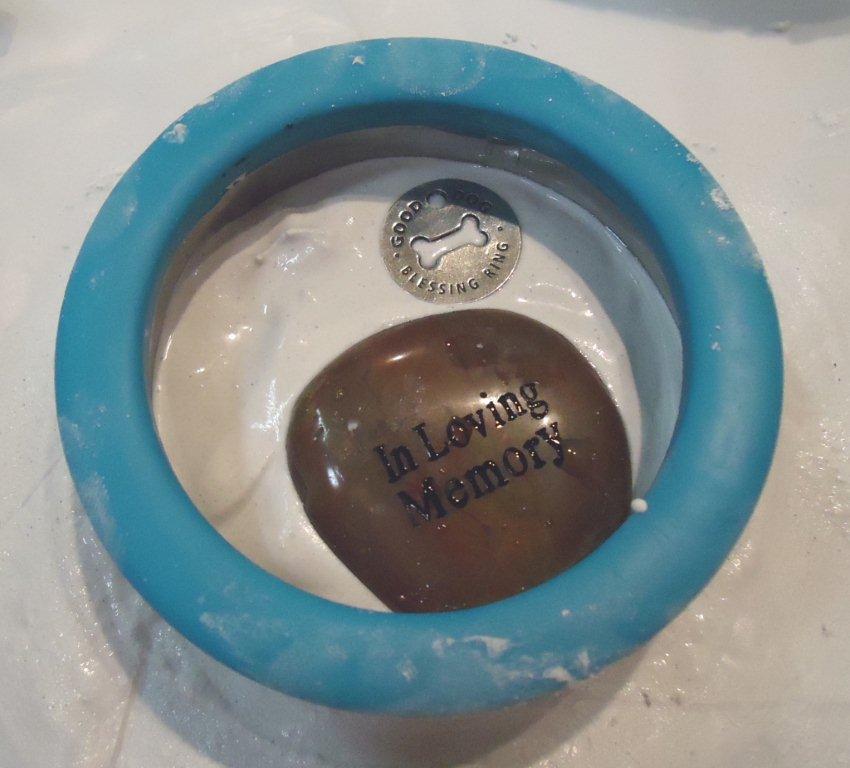
As far as the how to on this one, I basically just followed the directions for mixing the plaster and then as soon as I had my forms molded I placed the different items into the plaster before it had any chance to dry. I did pour some of the mix into large cookie cutters to help with a couple of the shapes, the others were formed by hand.
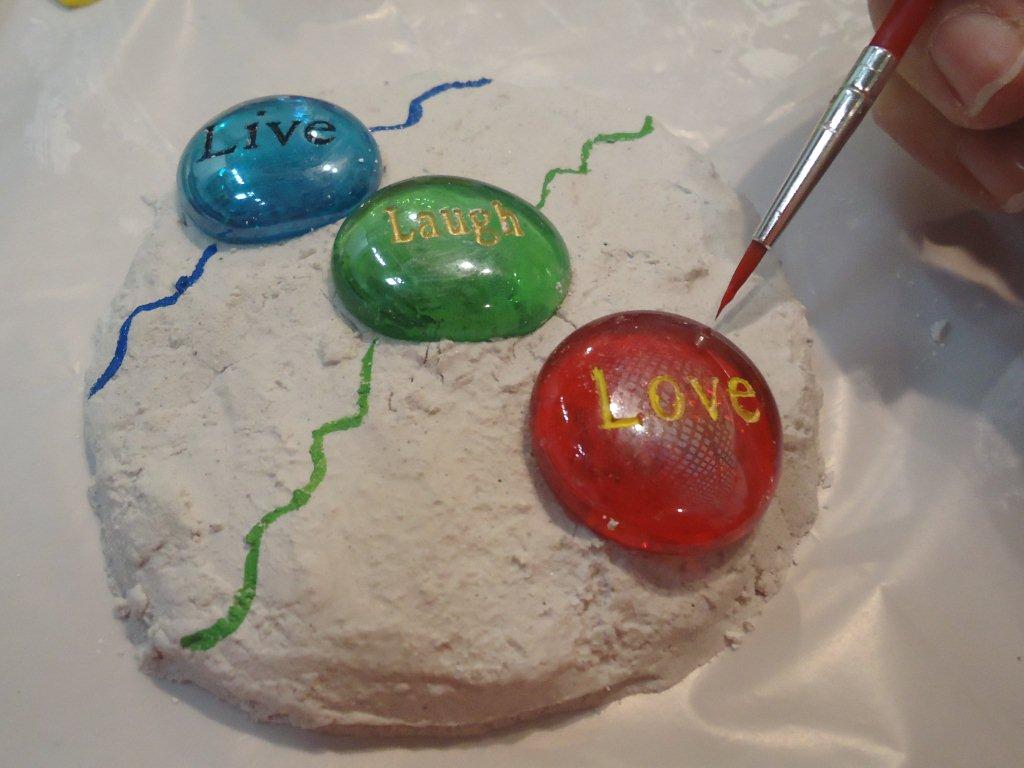
After I let all the stones dry I used paint to add a little more color to the stones.
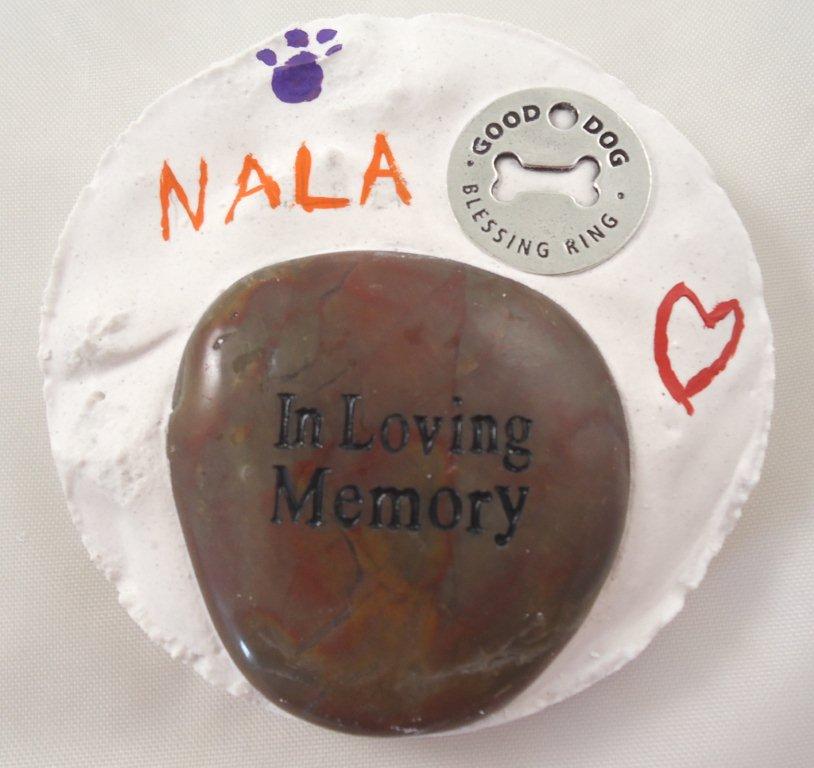
These easy to create pieces can make great gifts, wonderful memorials, or just a nice project for a rainy day!
Have fun and use your imagination…the possibilities are endless! ~Suzi
Mix plaster.
Form into shapes…this is freehand…
This is with a mold…
Get creative and colorful with your stone choices!
Have fun with paint!
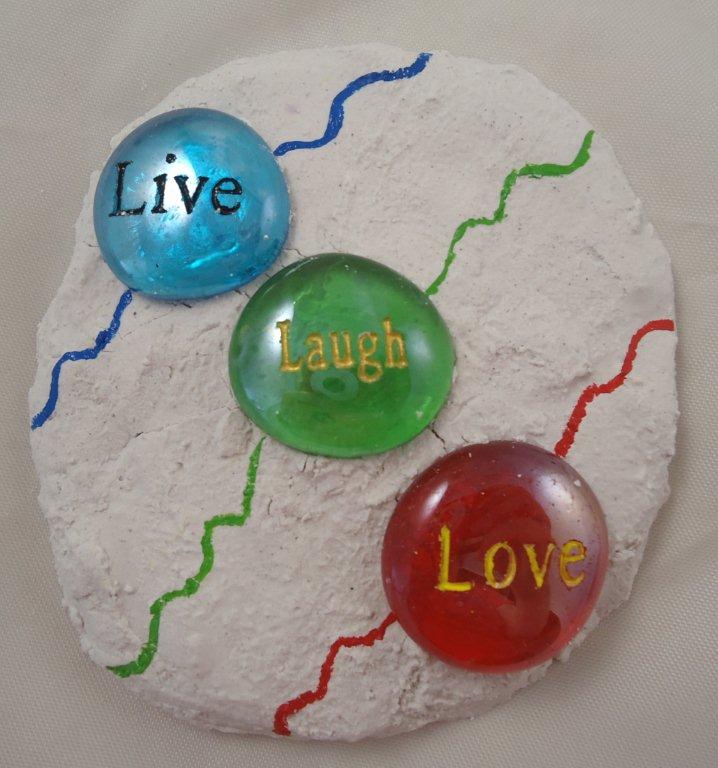
Fun, simple designs.
A memorial for the garden.
A perfect child’s Mother’s Day project.
Kanji Reflection stones…
Pewter sand dollars and Mermaid token remind us of the beach.